Harvest time! Time to preserve all the goodness your garden or the farmers market has given you. You can pickle, marinate, freeze, freeze-dry, or dehydrate your fruits, herbs and vegetable.
I love the wild fermentation method. I have been using it with great success for years now. Wild fermented kosher dill pickles is a must.
To pickle my cucumbers I used a large jar. This is how my mother and my grandmothers made their dill pickles. They never used any scale to weight the ingredients. This method works for me every time. You may want to use a few small jars if you prefer, and make a small batch at first to see if this is working for you. Keep things very clean to avoid mold contamination.
Ingredients:
- 4-4.5 pounds pickling cucumbers
- 6-8 garlic cloves
- bunch pickling dill - they say you can never use too much
- pickling spices: peppercorns, mustard seeds, whole allspice seeds, bay leaves
- purified or spring water
- 4 Tbsp non-iodized pickling salt per gallon of water
Utensils:
- 1 gallon glass jar (I used my kombucha jar)
- fermentation glass weight
- breathable cotton cloth cover and a rubber band
Method:
- Wash the cucumbers. Trim where necessary.
- Soak the cucumbers in ice cold water for at least half an hour. This will prevent the cucumbers from going flabby in the salt brine.
- Dissolve the salt in water. I am using cold reverse osmosis purified water. You may want to boil your water before using it to make the brine. Add the salt to warm water, stir well, and let the water cool off completely.
- Sterilize the glass weight and your jar with boiling water before filling it up. When the jar cooled off, place a few peppercorns, mustard seeds, one bay leaf and a garlic clove at the bottom of the jar. Add a few cucumbers, a twig of pickling dill and a garlic clove. Add more cucumbers, garlic, bay leaf and dill. Repeat till the jar is almost full. Leave about an inch and a half space between the cucumbers and the rim of the jar.
- Pour the brine into the jar making sure that all the cucumbers are completely submerged. Place the pickling glass weight on top and cover the jar with the cotton cloth. Secure the cloth with a rubber band.
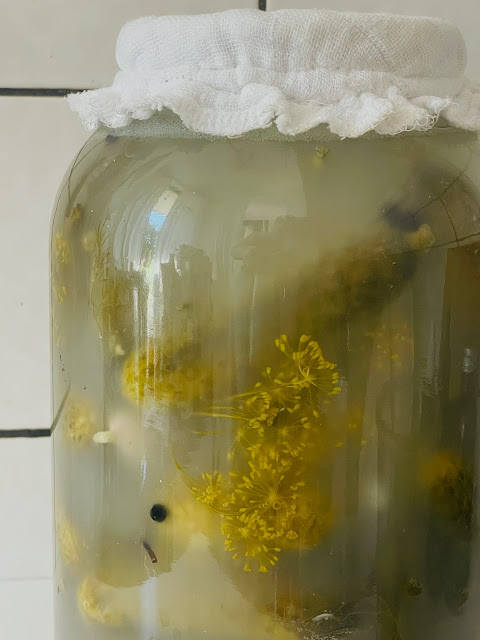
- Place the jar in the warm place on the kitchen counter away from the direct sun and allow to ferment for one to two weeks. During this time you will notice that the cucumbers change their color from green to pale olive green to slightly darker olive green. In the first week you will be able to see bubbles in the jar. The brine will become slightly cloudy due to the natural growth of the lactic acid bacteria. In the second week the bubbles will decrease and the brine will become even more cloudy. You will also be able to smell the pleasantly sour pickling aroma. At this time you can lift the cover and remove one cucumber for the taste test. One thing must be said at this time, though. The whole process depends on the temperature in you kitchen. In a warm kitchen your pickles might be ready only after one week of fermentation.
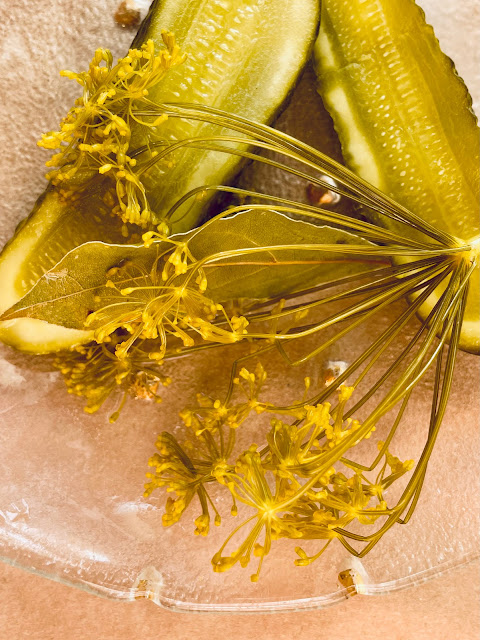
- Once you are fully satisfied with the taste, cover the jar with the lid and transfer it to the fridge. Your home-made kosher dill pickles are ready to eat. Enjoy in good company as a healthy snack on their own, or on sandwiches and in salads!
Tip:If you want your kosher dill pickles to last a little longer you can transfer them into smaller jars, with the brine, and pasteurize the entire jars. The pickles will not be raw anymore and the brine will lose its probiotic quality, but you will be able to enjoy them a little longer.
Note: Sometimes you may notice a white to off-white surface growth. This is not a mold! It is a harmless colony of mixed wild yeast organisms. You can skim off this pellicle with a clean (sterilized) spoon. However, should you encounter a furry white, pink, purple, blue or black pellicle, you have a harmful mold infection and must discard the content of the jar. Keep things very clean to prevent contamination. Also important to know is the fact that the pollen from dill flowers will rise to the top. The yellow pollen might combine with the natural surface growth and form yellowish-white pellicle. You may want to shake off the pollen from dill flowers before submerging dill twigs in the jar. As mentioned above, you can skim the pellicle off but try not to disturb the fermentation process in the first week.
Wild fermentation can be tricky and many people are either not comfortable with it or simply too shy to even start. I hope my tips will help you to make your own pickles without fear. You may want to start with a much smaller batch to see how it turns out. My husband made his first dill pickles in small jars with silicone lids. The process is the same but it may take a little longer. The taste depends on the amount of spices and dill added and the time the pickles took to ferment. The longer, the more acidic. The fermented brine is full of beneficial probiotics. You can drink it straight, add it to raw soups, salad dressings or savory smoothies.
To store your pickles, replace the cotton cloth with a lid and place the jar in the fridge. Always use impeccably clean utensils to remove the pickles from the jar to avoid contamination and spoilage.
In radiant health, passionately raw - Dominique
Dominique Allmon©2023


